 |
||
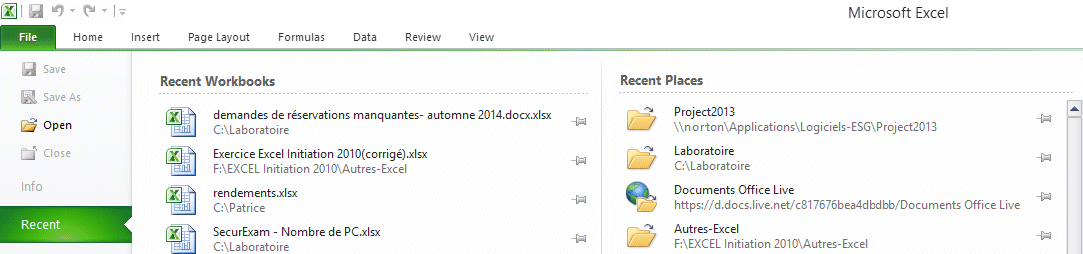
Navigation Topics Excercises Tutorials Others Contact |
Excel 2010 - Introduction
Introduction |
|

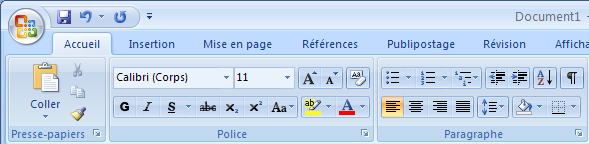
The table below explains the elements found on the screen.
1) File tab |
This tab gives you access to most commands that were previously found under the File menu and Excel's general options. |
2) Quick Access Toolbar |
You can place your most often used command buttons on this bar. |
3) The title bar |
Allows you to manage the window application. It shows the name of the application and of the file. |
4) The Ribbon |
You will find access to all the commands under this menu structure. |
5) The tabs |
The tab contains groups of commands that are used to on a document. |
6) Hotkeys |
You can use a combinaition of keys to activate commands. Start by pressing the Alt key to activate Hotkeys and reach the command you need. |
7) Commands groups |
The commands are grouped according to the type of action that you need to achieve. Many of them also have additional options by pressing the dialogue box launcher located at the bottom right corner of most group of commands. |
8) Command buttons |
Press the buttons to activate the commands of your choice. |
9) Location indicator |
Shows the position of the active cell. Can also be used to give a name to a cell or a group of cells. It can also be used to move the cursor to a named cells from the list. |
10) The formula bar |
Allows you to view and change the content of the cells; whether the content is text, a value or a formula. |
11) The active cell |
Allows you to select one cell, or a group of cells and change its content,presentation. You can also move it, erase it and many other possibilities. |
12) The fill handle |
Allows you to copy the content a cell, a range of cells, a formula or a data series onto other cells. |
13) The columns and rows headers |
Identifies the position of cell according to the intersection of the letter of the column (A to XFD) and the value in the row (1 to 1 048 576) |
14) The worksheet tabs |
Excel allows you to have many worksheets in the same workbook. The tabs at the bottom of the screen are used to identify each worksheet. Excel allows you to make calculation with many cells beside each other but also in "depth"; from the other worksheets. You can select a range of cells that come from many worksheets. For example, this formula adds values from cells A1 of the worksheet Sheet1 toSheet5: =sum(Sheet1:Sheet5!A1). Or add the cell A1 from the current worksheet with the cell B4 from the Sheet2 worksheet =A1+SHEET2!B4. You can adjust the formula according to your needs. |
15) The worksheet tabs movers |
Since a workbook can easily have over a hundred worksheets, it makes it impossible to view all the worksheet tabs at the same time. This bar allows you change the list of worksheets available. |
16) The status bar |
Allows you to view at the bottom of the screen the options that are activated. |
17) The horizontal and vertical sliders |
Allows you to move horizontally and verticaly in the active worksheet. Each worksheet is composed of 16 384 columns and to 1 048 576 rows. |
18) The split screen cursors |
Allows you to "cut" the screen in two horizontally and/or verticaly. This allows you to compare values that are located far from each other. For example, you can compare the values of the month beside those from the previous year. |
19) The columns |
Each worksheet contains 16 384 columns named from A to XFD. |
20) The rows |
Each worksheet contains rows numbered from 1 to 1 048 576. |
21) The pointer |
Allows you to select a cell, a range of cells, an objects. Also use to activate the options of the menu or the buttons of the toolbar. |
22) View Modes |
Excel offers three view modes : Normal, Page layout and Page break preview. |
23) Zoom |
You can zoom in a part of the worksheet to view in detail or zoom out to have grand view of your model. |
24) Contextual menu |
It appears when you right click on the mouse button. This menu contains the most often used options. |
25) Mini toolbar |
Mini menu with the most often used presentation options for the selected item. |
New print option
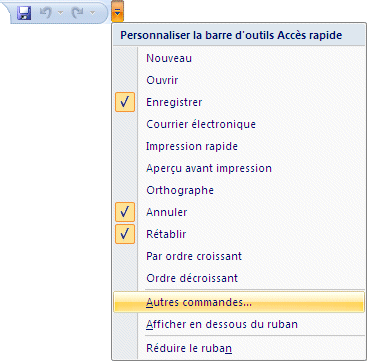
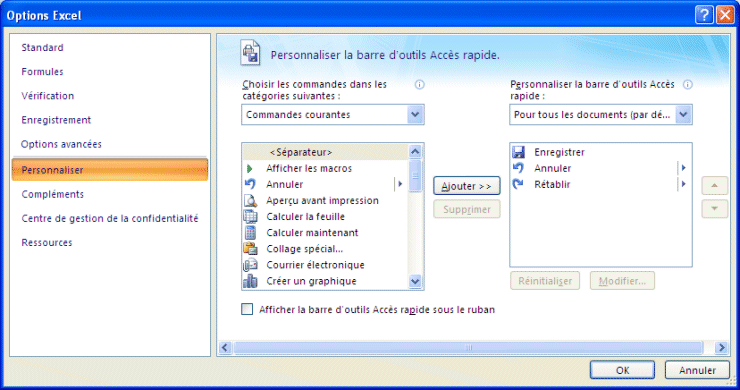
The quick access toolbarThe quick access toolbar allows you to add the commands that you use the most often. They are always close so that you can use them at any time. The versions previous to Office 2007 allowed you to create your own toolbars. That option was removed in Office 2007. But it came back with, in some way, with Office 2010. How to add or to personalize the quick access toolbar ...
You can immediately select among the list of the most often used commands. You can also decide to place the quick access toolbar above or below the ribbon. The bar is more easily visible above but closer to your document when it's below the Ribbon.
|

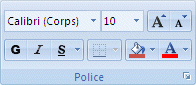 |
The group of command regroups similar commands. It makes it easier to find the commands you need. Notice that each group has its own name (Fonts in this case) and that there is a Dialog box launcher |
The commands
These are instructions that you need to create your model. They can be used to insert a function, a formula, a chart, change your model's appearence or to print. Other options are also available.
The Dialog box launcher 
Even in this new command structure, there isn't enough space on the screen to show all the possible commands and options. The Dialog box launcher opens a new dialog box with all the commands and options for the group.
The ScreenTip
You may need help to navigate through all the menu's options. Excel offers an option called the ScreenTip. It gives you a short description of the command when the pointer hovers over a command button.
Mini Toolbar
 |
In the previous Excel versions, a contextual menu appeared every time that you pressed the right mouse button. From Excel 2010 on, an additionnal mini toolbar appears at the same time. It gives you quick access to change your documents' formatting. |
Keyboard shortcuts

Here is one option that was rarely used before but was nicely improved in Office 2007. The keyboard shortcuts have been available in previous versions of Office. But it was hard to notice which keys should be used and at what time. You may have noticed them before but didn't know how to use them. Most commands in the menus had a letter that was underlined. That was the keyboard shortcut. In Office 2007, when you press the Alt key. The shortcuts are more obvious and therefore more useful. You can kkep your hands on the keyboard and access any comand you need. With a bit of practice, you will be choosing commands without even thinking about it! This option is really under estimated and should be used more often!
Live Preview
 |
Office 2007 added a wonderfull option called Live Preview. You can see what impact a command will have on your document even before you apply it. This saves a lot of time in trial and error. You may even be temped to try even more possibilities before deciding what to apply. |
The galleries
 |
Another advantage of Office 2007 is to offer galleries with a vast list of possibilities to chosse from. You can place the cursor over each possibility and see the impact it would have on your document because of the live preview. |
Help!
Microsoft Office does provide the user help just by pressing the F1 key. With Office 2010, it will look up the help file from the Internet. The advantage of this is that you always have access to the most recent support documentation.
| You like what you read?
Share it with your friends. |